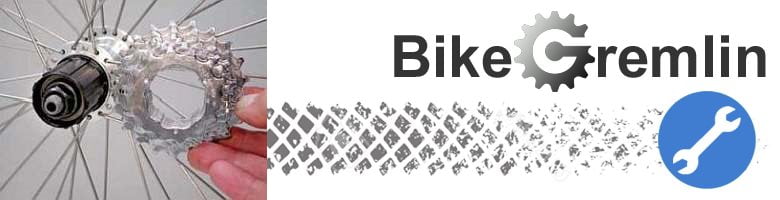
This post explains the tools needed and the proper procedure of removing rear sprockets of rear wheels that have them. 🙂 Tools needed will be listed after the preparation procedures are explained, for reasons that will become apparent after reading paragraphs preceding the tool list.
Contents:
1. Removing the cycle
2. Determining whether the wheel has a freehub, or a freewheel
3. Tools required
…3.i. If freewheel is used
…3.2. If a freehub is used
4. Putting the freehub, or freewheel tool in place
5. Removing (unscrewing)
…5.ane. Freewheel unscrewing
…five.two. Cassette (freehub) removal
vi. Mounting
…6.one. Mounting a new freewheel
…six.2. Cassette mountingMontiranje kasete
ane. Removing the bike
Start, of course, the wheel needs to be removed. Procedure and tools are explained in this mail:
How to remove a cycle.
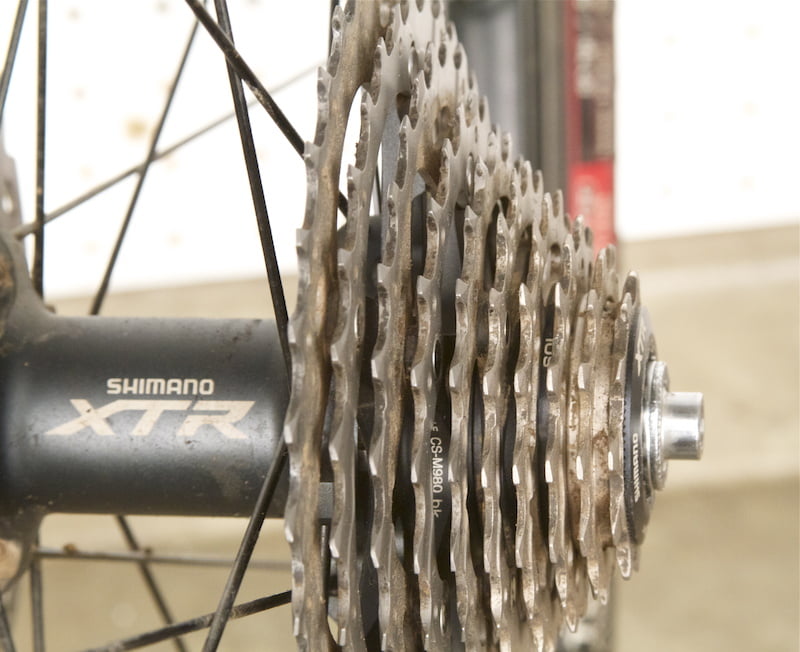
ii. Determining whether the wheel has a freehub, or a freewheel
Before choosing the correct tools, it is necessary to commencement determine which of the two systems is used (unless that is already known). This article explains the differences and how to tell:
Freewheel vs Freehub.
3. Tools required
- Adjustable wrench, big one, or a wrench that matches the freewheel, or freehub key's nut.
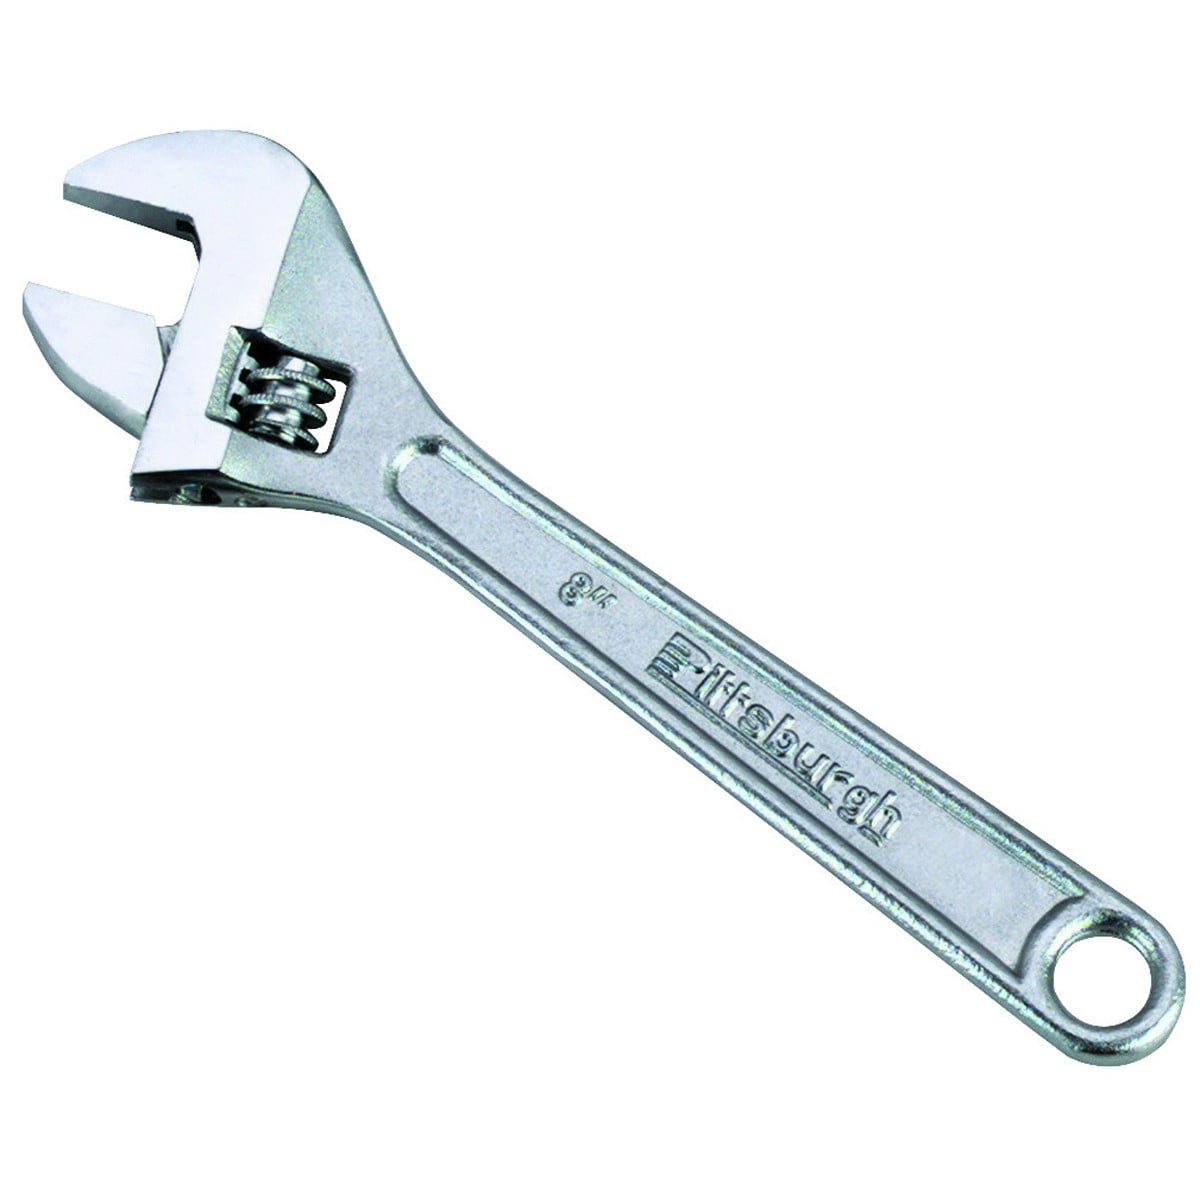
Adaptable wrench 
24 mm cardinal (if that matches the frewheel/freehub primal nut) - Copper grease. Any grease at paw can exist used, but copper grease is the best for this awarding.
- Cotton cloth or some kitchen paper wipes.
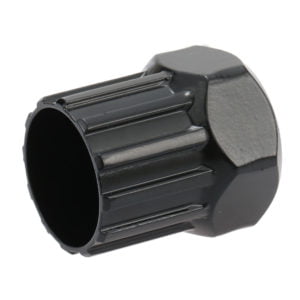
3.1. If freewheel is used
- Primal for freewheel removal.
Freewheel removal key
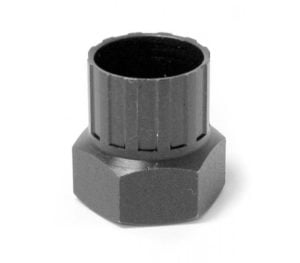
3.two. If a freehub is used
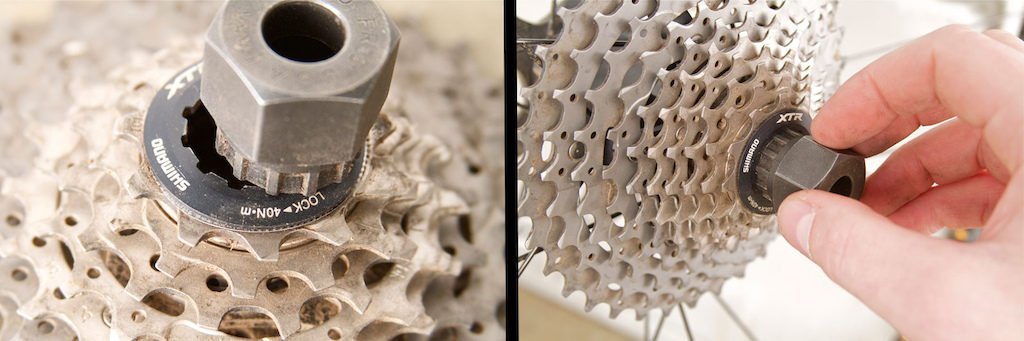
- Cassette locknut cardinal
Cassette lockring key.
Differs from frewheel key by teeth contour. Likewise, the role with splines is usually shorter than one on the frewheel keys.Freewheel key tin fit cassettes as well. Withal, because of the smaller "teeth", information technology will not fit splines deeply enough and this can harm the interface. With cassettes, use a cassette key.
- Concatenation whip
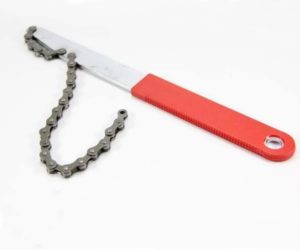
Chain whip.
For countering and stopping cassette from rotating when unscrewing the lockring.For old freehub standard "Shimano Uniglide" (current one is chosen Hyperglide – current as of 1990s), two concatenation whips are needed.
4. Putting the freehub, or freewheel tool in place
Make certain the freewheel fundamental slides nicely into the frewheel splines.

Here, a nut belongings the wheel on the bicycle is used to prevent the primal from falling out accidentally.
This is not necessary, and if it'south done, practice not tighten the nut, non even a fiddling.
If the key doesn't slide in, perhaps the axle needs to be turned a fleck (quarter of a plough), or fifty-fifty a locknut holding the cones needs to be removed from that side.
Aforementioned principle as with freewheel key.
v. Removing (unscrewing)
5.1. Freewheel unscrewing (for freehub cassette, go to 5.2.)
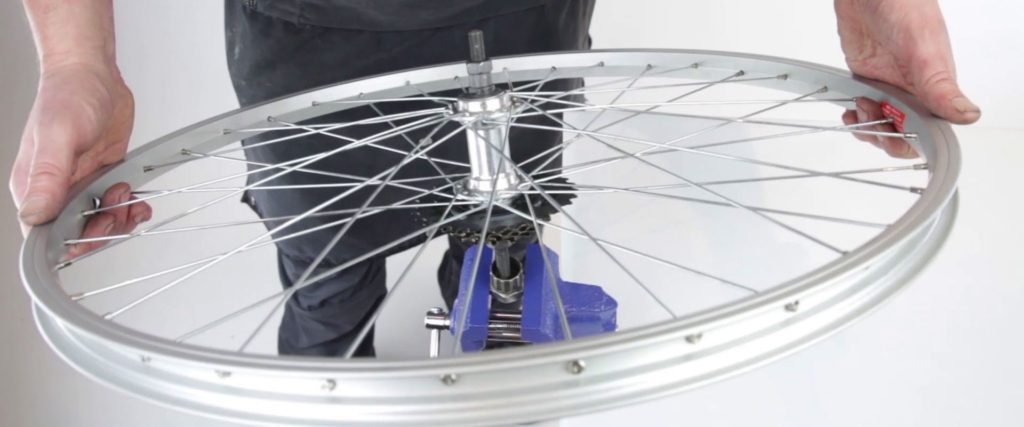
For those having a vice, it is best to mount frewheel key into the vice (removing it first once it'south confirmed information technology slides easily, in pace 4. Make sure information technology is horizontal and tightly held in place, so that the splined part protrudes up. Then carefully place the wheel onto the splines, brand certain it is well seated.
All that is left now is to turn the wheel counter clockwise and the freewheel volition unscrew. Sometimes getting it to move takes quite a chip of force.
If not using a vice, beginning make certain the tyre is mounted onto the wheel and well inflated.
Then place the wheel on the floor, against a wall. Insert freewheel key into place. Use wrench to plow information technology counter clockwise and with quite a chip of force.
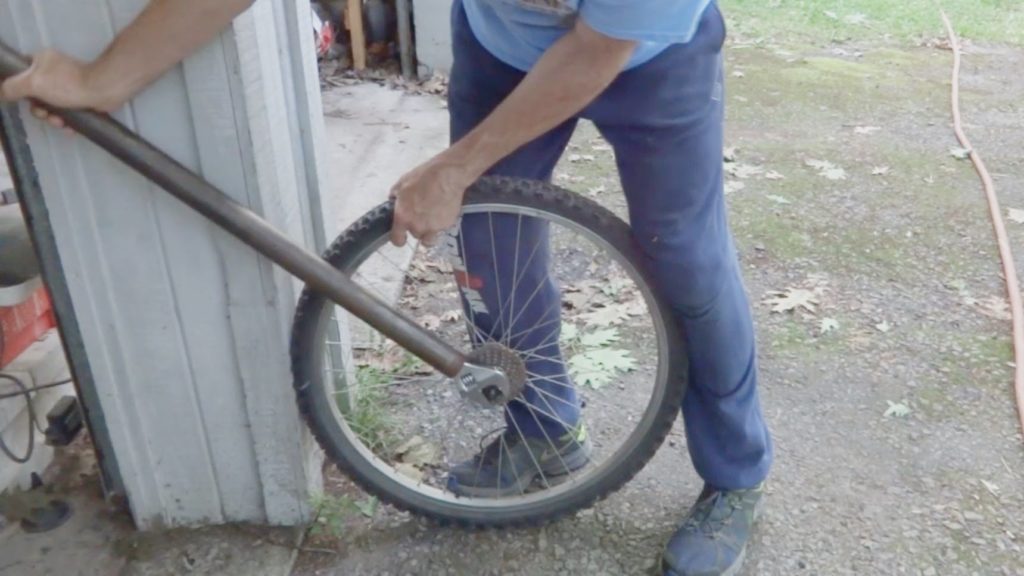
One time it gets tarted, it goes easily. Freewheel primal tin be turned by manus.
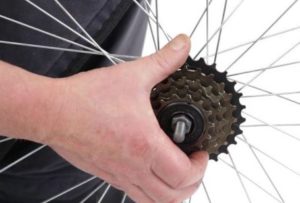
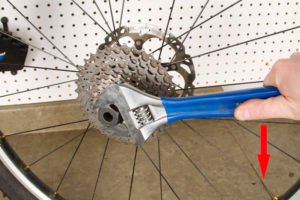
five.2. Cassette (freehub) removal
In one case a cassette primal was put into place (pace 4.), place the bike on the ground and then that cassette is facing you, wrap the chain whip on the correct manus side and bring the wrench clamping and turning the cassette key from the left.
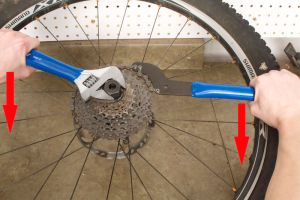
It will go very hard, suddenly unscrewing later on considerable strength is practical. Brand sure not to hit something, or loose residue. Afterward that, information technology is easily continued with bare hand – just turn the locknut all the way out.
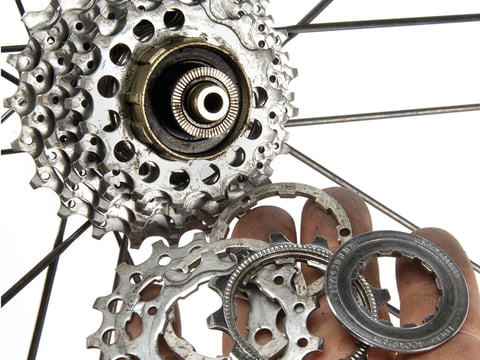
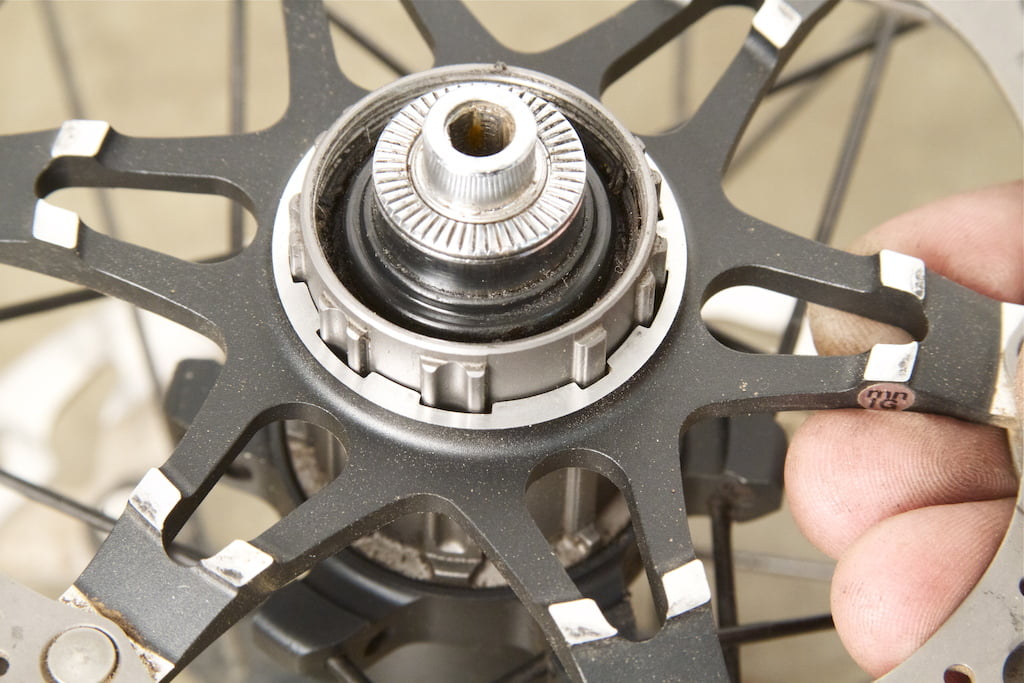
When the lockring is unscrewed, the cassette is simply slid off the freehub splines. Make sure not to mix sprockets and spacers, they might come loose when removing cassette.
With old, Shimano Uniglide freehub types, the smallest sprocket acts as a lockring.
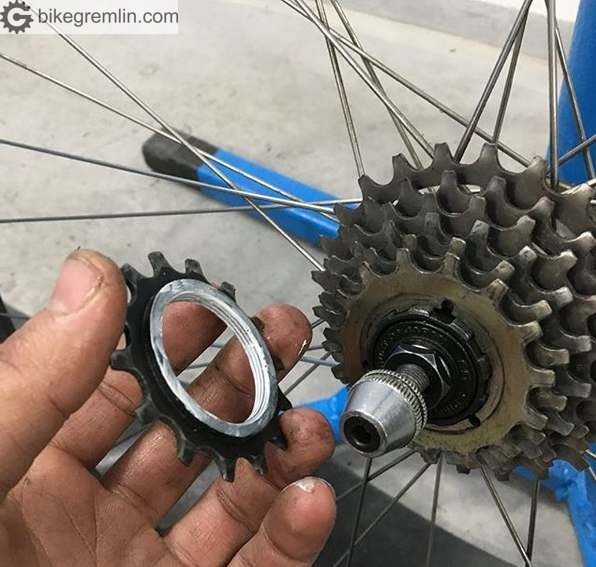
The smallest sprocket tightens the cassette in place and acts similar a locknut.
For removing this type, it takes two chain whips. One to concord the cassette, preventing it from from turning, and the other to loosen the smallest sprocket – anti-clockwise.
6. Mounting
6.1. Mounting a new freewheel (for freehub go to 6.2.)
Make clean the freewheel threads on the hub and on the freewheel. Put some copper grease onto the hub threads for frewheel mounting (or on the freewheel itself). Or any other grease at hand, but all-time use copper grease. That will prevent frewheel from getting stuck by the next fourth dimension information technology needs replacing.
The picture shows lithium grease, but copper grease is a better option.
Carefully spiral the frewheel onto the hub. Make sure when starting that information technology's parallel and it goes on nice and easily. If there'due south resistance when starting, there's cross threading, information technology wasn't screwed in parallel. Employ a frewheel key to unscrew (the key should be turned easily, by paw) and start over. When it starts screwing in smoothly, screw it all the fashion. Tighten past hand, just brand sure to avoid cutting palms on the sprocket teeth. Employ cloth or gloves. It is enough to tighten by paw. It is farther tightened when pedalling.
Gloves are for wimps! 🙂
Screwed frewheel.
Job done. 🙂
6.2. Cassette mounting
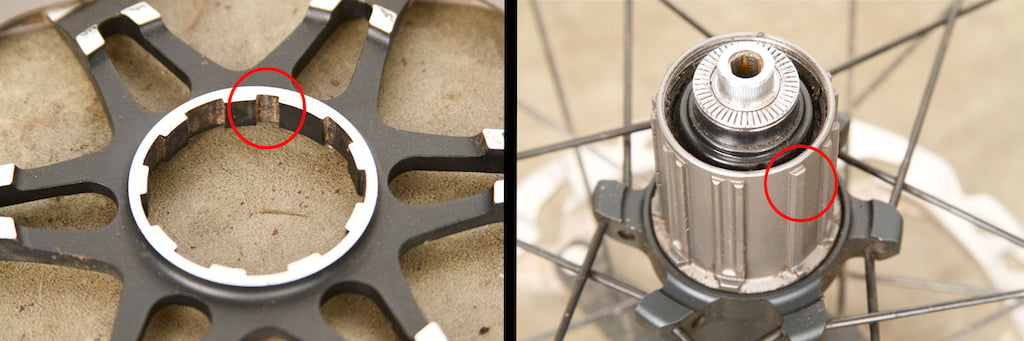
Place sprockets and spacers back in social club they were removed. Modernistic hypeglide cassettes and freehubs have one spline wider than the others, to help with correct rotation alignment of sprockets.

Smear some copper grease over locknut threads and the part where information technology presses the smallest sprocket, and then gently screw it in identify past hand. Check visually whether it is all properly seated.
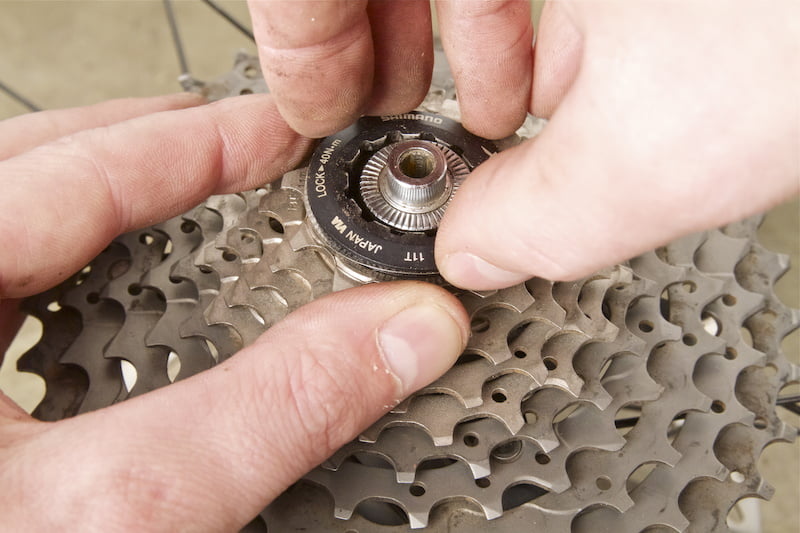
Finally, with a lockring central and a wrench, tighten the locknut to the appropriate torque.
Belongings the wrench almost the hub, and using a lot of forcefulness usually enables to brand it tight enough, simply not too tight.
Related mail – Bicycle rear hub compatibility: